Trending

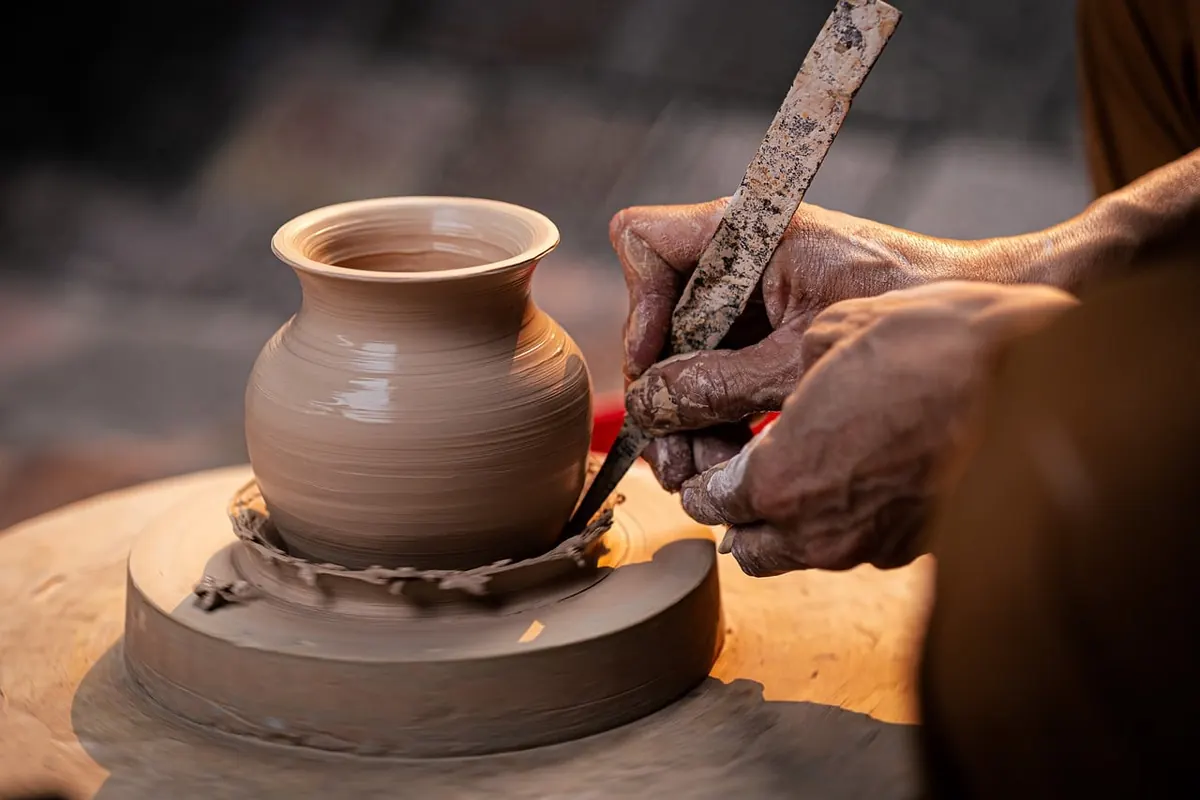
Ask most potters where a pot goes wrong and they will point to the first two minutes. Centering is the quiet, unglamorous step that decides whether the bowl you pull has an even rim or one that dips like a warped record. Get the clay truly centered and the rest of the throw feels almost too easy: walls rise where you push them, the profile follows your fingers, the rim stays level. Skip it, or rush it, and you spend the next twenty minutes fighting a wobble that never quite leaves.
Centering is a skill of the hands and the body, not of brute strength. Here is the sequence, the signals that tell you the clay is ready, and the fixes for the problems that keep pulling it off axis.
A centered ball of clay sits symmetrically around the wheel head's axis of rotation. That definition matters because every force you apply afterward — opening, pulling, shaping — travels through that mass. If the mass is off axis, the wall you pull on one side ends up thicker than the other, and the rim climbs unevenly.
Symmetry is not the whole story. Centering also evens out moisture and realigns the clay's particles, which is why potters cone the lump up and press it back down. Two or three cones work out trapped air, redistribute water, and leave you with a lump that responds predictably instead of surprising you halfway up a cylinder.
Half of centering happens before your hands get wet. Wedge first. Air pockets and hard lumps inside the ball push back against your hands and create a wobble you cannot fix from the outside. Keep wedging until the clay feels uniform, then weigh it so you know what you are working with.
Then set up your body. Sit close to the wheel with forearms braced against your thighs or the wheel pan, elbows tucked in. Most centering failures are bracing failures: if your arms float, your hands travel with the clay instead of holding it still. Keep water and a sponge within reach, but use water sparingly — slick, shiny clay slides through your grip and refuses to be controlled.
Stop and check rather than hope. If you are unsure, slow the wheel and study the top edge. A millimeter of tilt shows up quickly once you know what you are looking for.
Usually this is water. Slick clay cannot be held, so your hands skate and the mass shifts. Sponge off the excess and work with a drier grip. If that does not help, the ball may be sitting off the wheel head's center — press it back and run the sequence again from the top.
Press the clay down harder at the start and slow the wheel for the first few rotations. Water pooling under the ball turns the wheel head into a skating rink, so wipe it dry before you slap the clay down.
One hand is working harder than the other. Bring both hands together, lock your thumbs, and press from the center outward with even pressure instead of pushing from one side.
You are probably centering with your wrists instead of your body. Brace your forearms, keep elbows in, and lean your weight into the clay. If your wrists or shoulders hurt, stop and rest — grinding through pain in a repetitive studio motion is a bad trade.
Stiff clay fights back. Rewedge it with a little water, or set it aside to relax and work a softer batch in the meantime. Forcing a hard lump on the wheel teaches your hands bad habits.
The fastest way to improve is dull repetition on cheap clay. Weigh out a dozen small balls and center them one after another, then collapse them and start again. Increase size gradually — jumping from one kilogram to five in a single session is a common reason potters plateau. Add weight as your hands learn the pressure.
Spend more time here than feels reasonable. Centering a two-kilogram ball until it is calm and true takes a couple of minutes, and those minutes buy you the entire rest of the throw. When the clay is quiet under your hands, the pot almost makes itself.
Photo: MrHà / Pixabay