Trending

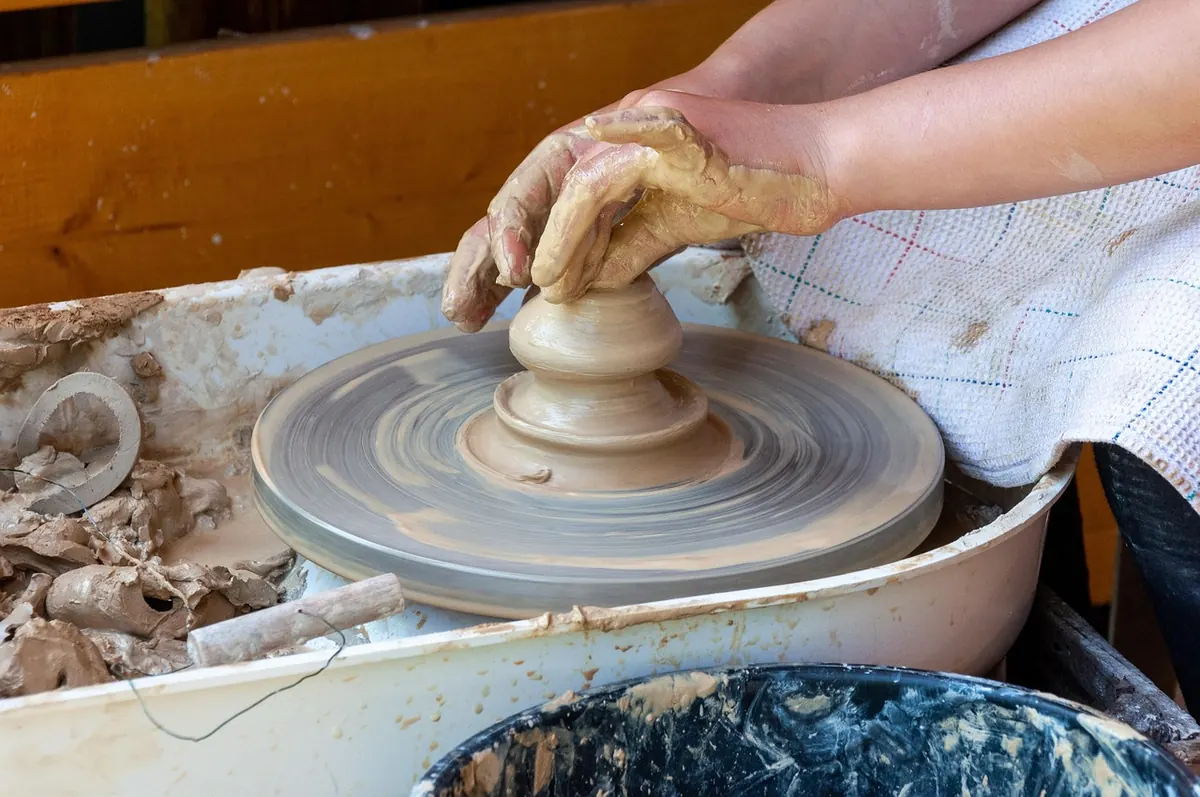
A home studio rarely begins as a studio. It begins as the corner of a garage, a spare bedroom nobody uses, or half a basement with one bare bulb and a folding chair. Then the wheel arrives, then the clay, and one day you notice slip tracked across the kitchen floor. Setting things up properly the first time saves you from rebuilding later — and from breathing dust you should never breathe.
Four things decide whether a room will work: water, power, ventilation, and how much mess you can tolerate. You want a space where you can spill, sweep, and reach a sink without crossing carpet or a living area.
Ventilation is the one people skip, and it is the one that matters most. The real hazard in a home studio is not the clay itself but the fine dust it becomes once dry — trimmings, sanding residue, sweepings. A cross-breeze from a window, or a fan pushing air outdoors, does more for you than any gadget.
Water is next. A utility sink is ideal. If you don't have one, two buckets and a settling system work fine. What you must avoid is washing clay or glaze down a household drain; it settles, hardens, and creates a plumbing bill you will remember. Let solids settle in a bucket, pour off the clear water, and dispose of the sludge in the trash.
A few checks worth running before you commit to a room:
Concrete or sealed vinyl floors sweep clean. Seal a bare wooden subfloor. Add ground-fault protection on outlets near water. If you plan to run a kiln, it needs its own circuit — that's a job for a licensed electrician, and it's also worth a call to your insurer, since requirements and policy terms vary by location and kiln size.
Keep the throwing area tight and self-contained. A wheel, a stool at the right height, a wedging surface, and everything you need within arm's reach. If your elbows lift when you sit down to throw, the stool is too low.
If you don't own a wheel yet, don't rush it. Hand-building needs only a sturdy table, a canvas or plaster surface, a rolling pin or dowels, a banding wheel, and a handful of wooden tools. Plenty of potters work that way for years. A wheel is the single biggest purchase in most studios, so buy it when you know what you want from it.
Open shelving with enough clearance for buckets beats cabinets with doors, because you'll actually put things back. Store clay in sealed bags or bins, off the floor, and keep damp clay away from dry, dusty debris. A lined trash can for trimmings keeps the floor cleaner than a pile of scraps ever will.
Give glaze its own corner, ideally with a lip or tray underneath to catch drips, and never share sieves, spoons, or sponges between glaze and clay. Label every bucket. Reclaim works best as a routine rather than a rescue: slake your scraps in water, let the solids settle, spread the sludge on plaster bats or a board to dry to wedging consistency.
On food safety, treat labels carefully. A glaze marketed as lead-free isn't automatically dinnerware-safe in your kiln, at your firing temperature, with your clay body. Follow the manufacturer's instructions, test finished pieces, and if you plan to sell work intended for food, check what your jurisdiction requires. When in doubt, keep it decorative or ask a qualified professional.
You don't need one to start. Community studios, local potters, and firing services will bisque and glaze-fire your work for a fee, and that arrangement lets you learn your own habits before spending on equipment.
If you do go ahead, plan the whole system rather than the box: a dedicated circuit, proper clearances, a stand, kiln shelves and posts, cones or a controller you understand, kiln wash, high-heat gloves, safety glasses, and a clear answer to where the fumes go. Firing must be vented to the outdoors, never into living space. Check local fire and zoning rules, tell your insurer, and have the electrical work done by someone licensed. This is an area where a short conversation with the right professional prevents an expensive mistake.
A secondhand wheel or hand-building only, basic tools, buckets, a work table, shelving, a fitted respirator, an apron, and firing through someone else's kiln. Cheap to build, but firing fees accumulate.
A new mid-range wheel, a proper wedging and work surface, a sink or washing station, a few glazes you know well, spare bats, better shelving, and a dedicated ventilated glaze corner.
Everything above plus a kiln, ventilation, electrical work, and an air-filtration or HEPA vacuum setup for cleanup.
Buy used where you can. Potters leaving the craft often sell a wheel with tools, bats, and shelves included, and that bundle is usually better value than anything new. Prices vary widely by region and brand, so compare locally before committing.
Equipment helps, but habits protect you. Respirable crystalline silica from dried clay and glaze dust is a genuine long-term risk, and the damage accumulates quietly over years. The fix is boring and effective:
Don't build the whole thing before you use it. Set up one zone — usually the wheel or the work table — make a few pieces, and pay attention to what annoys you. The trash can is always too far away. The water bucket is always on the wrong side. The light comes from behind your head and throws the whole form into shadow. Fix those small things first.
Then let the studio grow around your actual practice. Add storage where piles form. Add a second shelf where bats accumulate. Rearrange after a month, and again after six. The best-equipped home studio isn't the one with the most tools; it's the one laid out for the hour of the day you actually get to use it.
Photo: wal_172619 / Pixabay