Trending

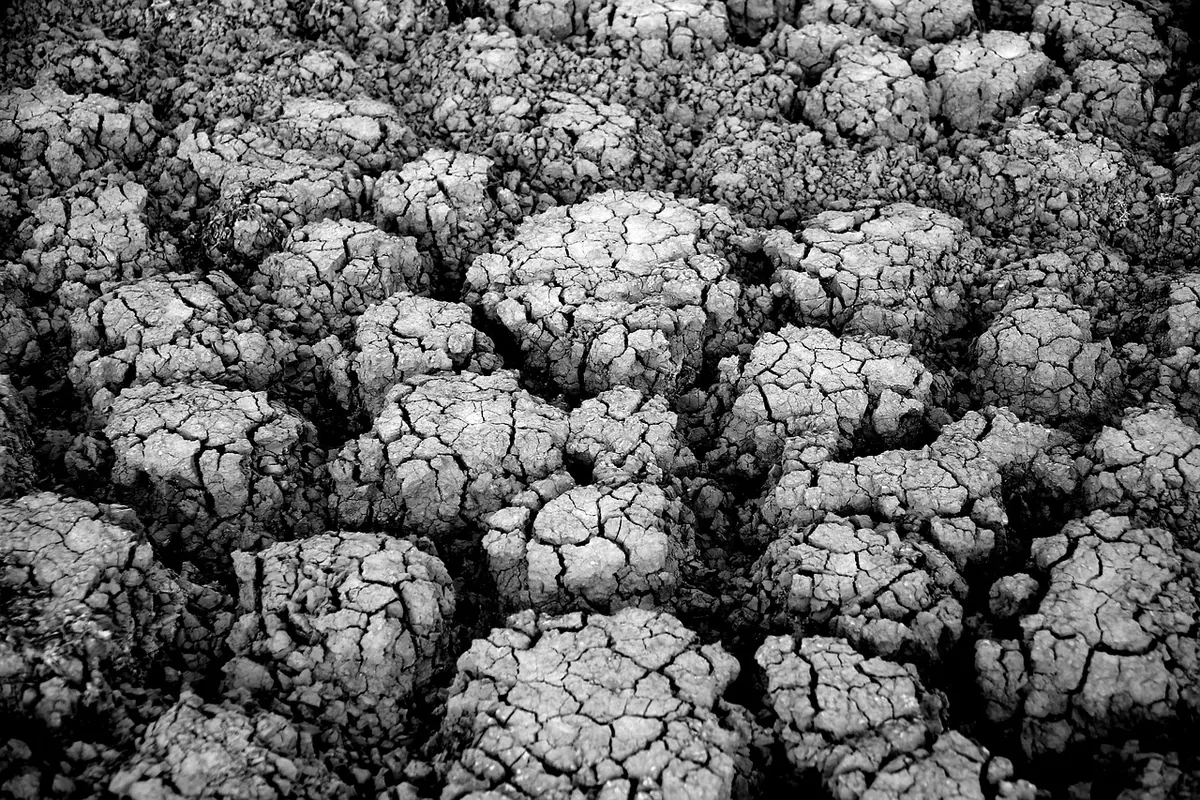
Somewhere within a short drive of your studio, there is a layer of clay. You can see it in the raw bank of a creek after a storm, in the fresh cut of a new foundation, in the orange smear where a hillside slumped onto a trail. People have dug their own material for as long as they have made pots.
It is also work. The first bucket is usually disappointing, and not every deposit is worth the trouble. But local clay is worth understanding — it ties your pots to a specific piece of ground, and learning what your soil can and cannot do makes you a sharper maker.
Clay is weathered rock: feldspar and other minerals broken down by water, frost, and time. It collects where water slows down and drops its load — the inside bends of creeks, the bottoms of ponds, the flat ground below a slope. Look for ground that stays slick and sticky after rain, or soil that forms hard clods that won't crumble.
Good places to look:
Maps help before you grab a shovel. Geological survey maps and soil surveys will tell you which areas are clay-rich and what kind of material you're likely to hit; local potters' guilds are an even faster shortcut, since someone in the group has probably already dug a hole and knows what came out of it.
Get permission before digging on land you don't own, and skip protected land, parks, railway property, and highway shoulders. Roadside ditches and ground near old mines, dumps, or heavy industrial sites carry contamination you don't want in your studio.
Plenty of sticky soil is mostly silt or loam, which will not hold a pot. Run a few quick tests before you haul anything home.
Dig a few pounds from each promising spot, bag and label it with the location and depth, and take it home. Topsoil — roughly the top foot in most places — is full of roots and organic matter that burns out in the kiln and leaves pots weak. Dig below it, into the subsoil.
Expect the usable volume to be a fraction of what you dug. That is exactly why it pays to test before committing to a hundred-pound haul.
This is the part most people skip, and it decides whether your clay is usable. Roll a set of small bars or tiles and mark a 10 cm line on each while it's still soft. Measure it again when the tile is bone dry: the difference is your drying shrinkage. Wild clays often shrink far more than commercial bodies, which is why they crack.
Fire tiles at a range of temperatures — cone 06, 04, and 02 for a start, higher if the clay shows no sign of slumping. After firing, measure the line again and watch for the failures that matter:
To check absorption, weigh a fired tile, soak it for a day, and weigh it again. A tile that gains a percent or two is close to vitrified and could hold water; one that gains ten percent or more is earthenware and will need a glaze to be watertight.
Keep a log for every deposit: where it came from, how deep you dug, how you processed it, shrinkage numbers, firing results, and how it threw or handbuilt. Two years later, that page will be worth more than the clay.
Most wild clay is either too short or too sticky, and the fix is usually blending. Short, sandy clay benefits from a plastic commercial clay or a small addition of bentonite. Over-plastic clay that cracks as it dries can be opened up with fine sand, grog, or a leaner local material.
The fastest route to usable results is a 50/50 blend with a commercial body you already know how to fire. It keeps the character of the local material — the iron speckle, the color, the tooth — while borrowing reliable working properties. If your clay tests out as earthenware, low-fire glazes, terra sigillata, and burnished pit-fired surfaces all suit it.
Dry clay dust is the main hazard. It contains respirable silica, so keep the process wet where you can, sieve outdoors, wear a fitted dust mask for dry work, and clean
Photo: Mar_Fernández / Pixabay