Trending

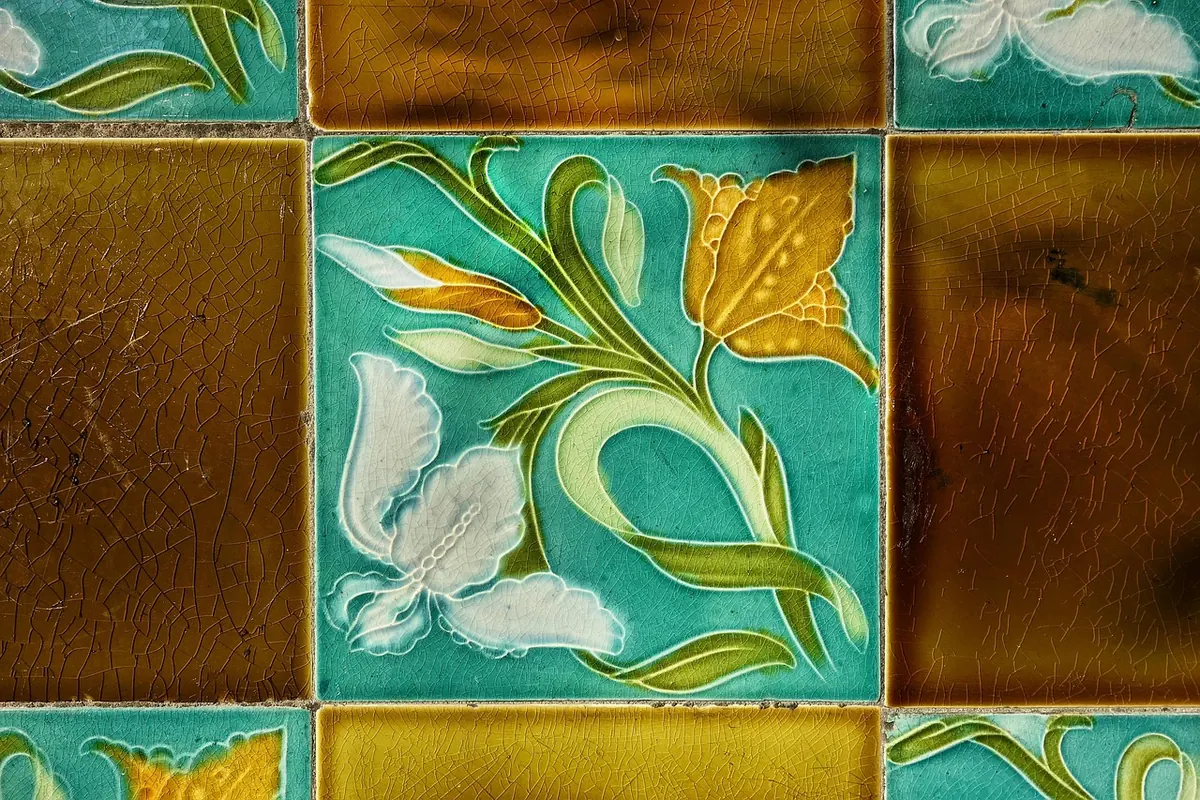
Every glaze in your notebook started as a guess. What separates the guess that becomes a dependable shop glaze from the one that quietly ties up a shelf of raw materials for two years is how you test it. A gallon bucket of an untried recipe is a gamble. Forty small tiles fired in one load is information. You can do serious glaze development with a fraction of the materials and space, if you set up the tests deliberately.
Before you weigh anything, write the question at the top of the page. Not "can I make a nice blue," but "will 3% cobalt carbonate over a satin base give me a blue that doesn't go metallic?" A specific question tells you what to hold constant and what to change.
Choose a base recipe you already trust — a clear, a matte, a liner you've fired a dozen times. Everything else becomes an addition. Change one variable per round: one oxide, one frit, one percentage. Alter two things and love the result, and you still don't know which one did the work. Keep an unaltered tile of the base in every firing as your control. Without it, you're comparing against memory, and memory is unreliable.
One hundred grams of dry base material makes roughly 150 to 200 ml of usable glaze at a normal dipping consistency. That's a dozen or more small tiles, and a failed test costs pennies instead of a pound of tin.
A few habits make small batches accurate:
A line blend is the workhorse of glaze testing. You take two glazes and mix them in graduated proportions to see the whole range in a single firing.
The other useful version is the addition line: hold the base steady and increase one material in steps — 1%, 2%, 3%, 5%, 7%. This is how you find the point where a colorant stops being a tint and starts being a surface. Both formats give you a clean gradient to read, and both can be mixed in under an hour.
If you're balancing three materials — a frit, a clay, and a flux — a triaxial blend lays the combinations out on a triangle and maps a whole field of recipes at once. It takes more cups and more tiles, so save it for after a line blend or two has narrowed the field.
Inconsistent tiles produce unreadable results. Cut them from the same clay body you plan to use in production, at the same thickness — around 6 mm works well. Five-centimeter squares are big enough to judge color and small enough to store by the hundred. Smooth the edges, press a hole near the top for hanging, and dry them slowly.
Two details are worth the extra minute. First, code every tile in iron oxide or with an underglaze pencil before the bisque firing, not on masking tape that will fall off in the kiln. Second, get more than one reading per tile: dip two-thirds and pour a stripe across the last third, so you see thin and thick application side by side. Fire a few tiles standing on edge as well. A glaze that looks flat on a horizontal tile often breaks and runs beautifully over a rim.
Resist the temptation to test one cup at a time. Load the whole set into a single firing, in the same kiln zone, on a waster slab so runs don't weld themselves to your shelf. Same cone, same atmosphere, same position. A glaze tested in the cool bottom corner and reproduced in the middle of the kiln will behave like a different recipe.
Include the unglazed base control, one tile from a previous round, and a small vertical form if edge breaking matters to you. Note where the tiles sat in the kiln along with the cone pack result. When a test looks wrong six months later, those notes tell you whether the glaze failed or the firing did.
Take the photo first — same daylight spot, same background, codes visible — then write the entry while the surface is fresh in your mind: base recipe, addition, clay body, cone and atmosphere, application thickness, kiln position, and a one-line verdict. Store the tiles in a labeled box with the code written on the tile itself, not just on the bag.
Tiles marked "maybe" deserve a second firing before you discard them. A dry surface at cone 6 in oxidation can gain depth in reduction, and a glaze that crawls horizontally may behave standing up. Re-testing a maybe costs one tile. Re-mixing a discarded recipe from scratch costs an afternoon.
Set a rhythm you can keep. Mix a batch of cups on a Thursday, slide the tiles into your next regular glaze firing, and review them together on Sunday. Twenty tiles a month for a year will teach you more about your materials than five buckets of untested glaze ever will.
Keep the waste down as you go. Pour leftover slurry into labeled jars, let it settle, and decant the water rather than washing it down the drain — glaze solids and metallic oxides don't belong in the plumbing. Dry out scrap on a plaster bat and keep a "test only" bucket for it. Handle dry materials with a respirator and gloves; the powders are the part worth respecting. If you're working with unfamiliar colorants and have health questions, check with a qualified professional.
Photo: MabelAmber / Pixabay