Trending

Your first wheel-thrown pot will probably be small, uneven, and heavier than it looks. Keep it anyway. That lumpy bowl is a record of what your hands learned in an hour, and in three weeks it will be the proof that you improved.
Throwing is five skills stacked on top of each other: wedging, centering, opening, pulling, and shaping. Beginners rush the first two because they are slow and invisible, then wonder why the walls wobble and the rim dips. Here is what each step should actually feel like, and what to fix when it doesn't.
Wedging is kneading clay to even out moisture and push trapped air out of the mass. Air pockets are what make a pot blow apart in the kiln or collapse under your hands halfway through pulling. Skip this and you'll pay for it later.
Spiral wedging is the standard method: press the heel of your hand into the clay, push down and forward, roll the mass back, and repeat, rotating the ball a little each time. Ram's head wedging — pushing the clay down and forward with both hands, folding it back — works well for stiffer clay. Either way, you're looking for a uniform, slightly springy ball with no soft spots.
A quick test: cut the ball in half with a wire. The cut face should look even, with no shiny wet patches or visible holes. If you see air pockets, wedge again.
The clay should give when you press your thumb into it, but not stick to your skin. Too wet, and it slumps the moment you start pulling. Too dry, and it drags and cracks. If it's too soft, leave it on a plaster bat or a piece of canvas for twenty minutes to stiffen up.
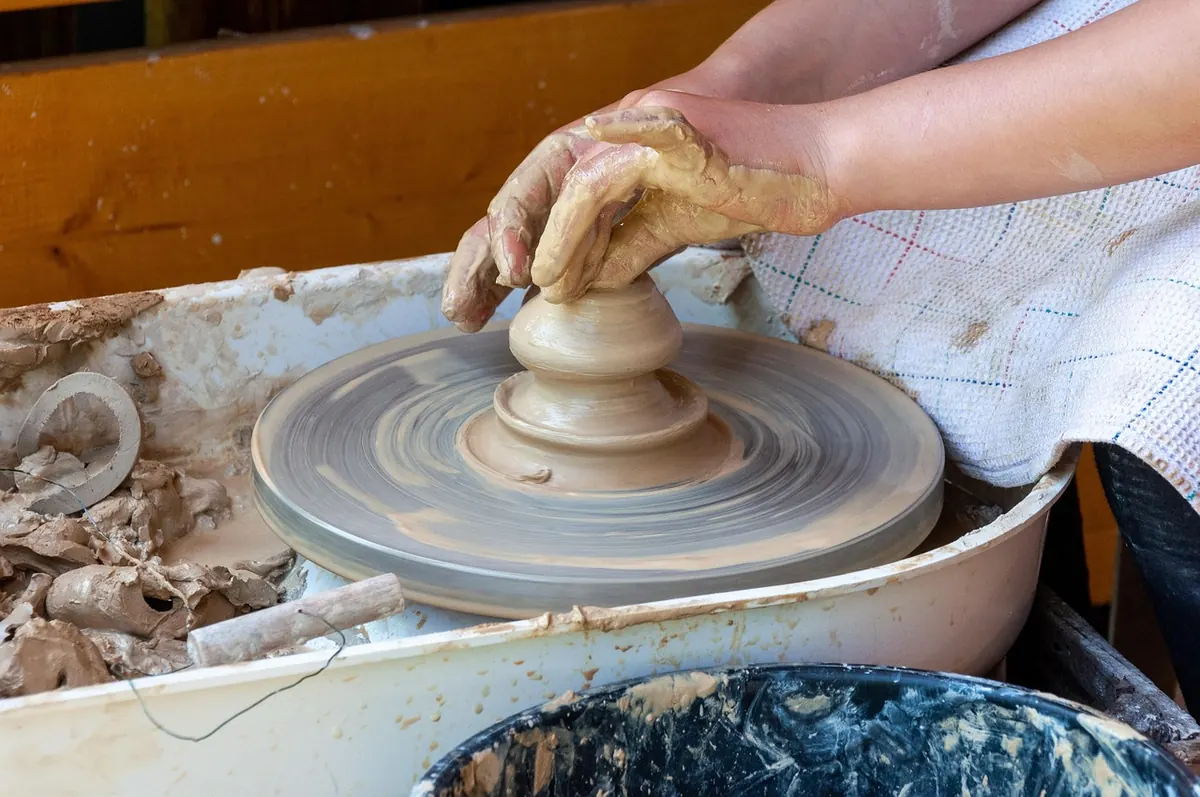
Centering means getting the clay spinning as one balanced mass with no wobble. Nothing else in throwing works until this happens, so it's worth spending a whole session on it.
Sit close to the wheel with your elbows braced against your thighs or hips. This is not a detail — braced elbows are what let you hold steady pressure for a full minute. Set the wheel at a medium-to-firm speed; centering needs more speed than shaping does.
Press the clay into a cone: both hands on the sides, left palm pushing inward from the left, right hand meeting it on the right, working upward. Then press the cone back down into a dome. Repeat two or three times. Coning and coning down aligns the clay and moves the moisture around, and it's the fastest way to get a stubborn lump under control.
Use water sparingly. Damp hands, not dripping hands. Too much water makes the surface slick so you lose your grip, and it saturates the clay from the outside in. Keep a sponge nearby and wring it out often.
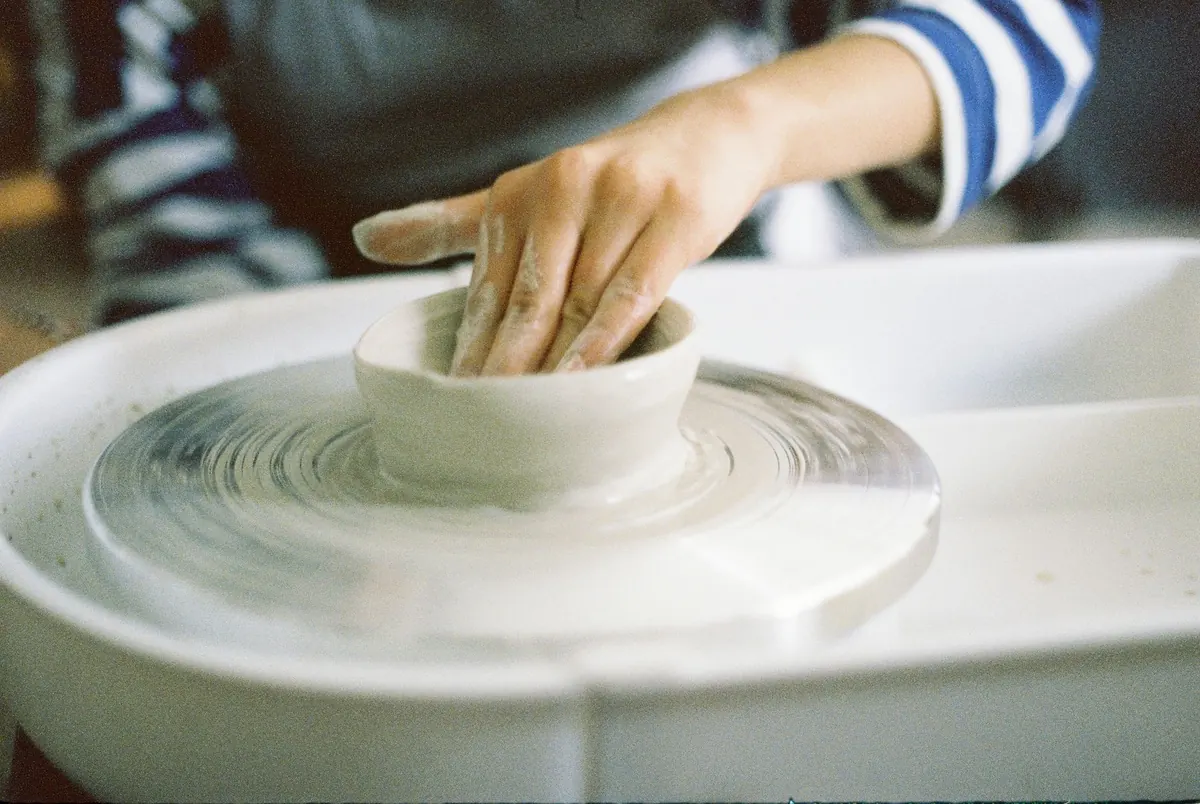
Slow the wheel down a notch. Press your thumbs or the first two fingers of both hands into the middle of the spinning mound and push straight down, stopping about a quarter-inch from the wheel head. That remaining clay becomes your floor — go through it and you've made a doughnut.
Once you're at depth, move your fingers outward from the center, pushing the walls out to the width you want. Keep the movement steady and even. Then check the floor with a pin tool: push the needle through the wall near the base. If it comes out wet and the base feels thick, open the bottom a little more.
Pulling is where beginners lose pots. The idea is simple: pinch the wall gently between a finger inside and a finger outside, then draw both hands upward together while the wheel spins.
Start at the base of the inside wall. Place the knuckle or fingertip of one hand inside and support the outside directly opposite with your other hand. Squeeze lightly — light enough that you can feel the clay between your fingers — and move up. Both hands travel at the same speed, and they must stay at the same height. If the outside hand lags, you'll tear the wall.
Three pulls is plenty for a small pot. Each additional pull adds water and stress, and clay that has been handled too much starts to sag and flop. Finish each pull by pinching the rim gently between thumb and forefinger so it stays even and slightly thicker than the wall.
Now the pot is open and the walls are even, you can decide what it is. Bellies, straight cylinders, flared rims — shape it with the same two-hand pressure, moving slowly from bottom to top. A wooden or rubber rib held against the outside smooths the surface and compresses the clay, which makes the wall stronger.
Sponge the water out of the inside, tidy the rim, and wipe the wheel head clean. Then run a cutting wire under the base by holding it taut and pulling it toward you, keeping it flat against the wheel head. Either lever the pot off with your fingers and set it on a board, or leave it on the bat and move the whole bat to a shelf.
Cover it loosely with plastic. In a day or two it will be leather hard — firm enough to hold its shape but soft enough to carve — and that's when you trim the base and clean up the foot.
Fire a few of them, even the failures. Choose the best two and let the rest go back into the reclaim bucket — clay is endlessly reusable, and there is no shame in recycling a pot that taught you something.
Practice centering in short, focused sessions rather than marathon ones. Half an hour of coning and opening, five days a week, will move you further than three hours every other Saturday. Your wrists and shoulders will thank you; if you feel persistent pain rather than ordinary muscle tiredness, ease off and check with a health professional.
One more thing: keep the studio wet. Wipe surfaces with a damp sponge, never sweep dry clay dust, and never rinse clay down a sink. Silica dust is the real hazard in a pottery space, and good habits are easier to build on day one than to retrofit after a year.
Your tenth pot will be rounder than your first. That's the whole promise of the wheel — it rewards repetition more than talent.
Photo: Rüveyda / Pexels